How to Embed a Live Status Page Widget on Your Website
Learn how to embed a live status page widget on your website in minutes—so visitors see real-time uptime and incident info without leaving your site.

TL;DR: Embedding a live status page widget shows real-time uptime and incident data directly on your website, reducing support tickets and building trust. Most providers, including Livstat, offer a copy-paste script or iframe embed that takes under 10 minutes to set up. This guide covers embed types, placement strategy, customization, and common pitfalls.
When your service goes down, the first thing users do is check if it's just them—or everyone. If they have to leave your site to find that answer, you've already lost a bit of their trust. A live status widget answers the question before they even ask it.
Why Embed a Status Widget Instead of Just Linking to a Status Page
A standalone status page is useful, but it requires users to know it exists and navigate away to check it. An embedded widget puts real-time health data right where your users already are: your homepage, dashboard, or app footer.
Consider the impact on support load. Teams that surface live status directly on their site typically see fewer "is it down?" tickets during incidents, because the answer is already visible. It also signals transparency—visitors notice when a company isn't hiding its uptime history.
Types of Status Widgets You Can Embed
Most status page tools, including Livstat, offer a few embed formats:
- Badge widget — A small, always-visible indicator (green/yellow/red) showing current system status, often placed in a nav bar or footer.
- Inline banner — A horizontal bar that appears only during active incidents or maintenance, then disappears automatically.
- Full widget panel — An expandable component showing component-level status, uptime percentage, and recent incident history.
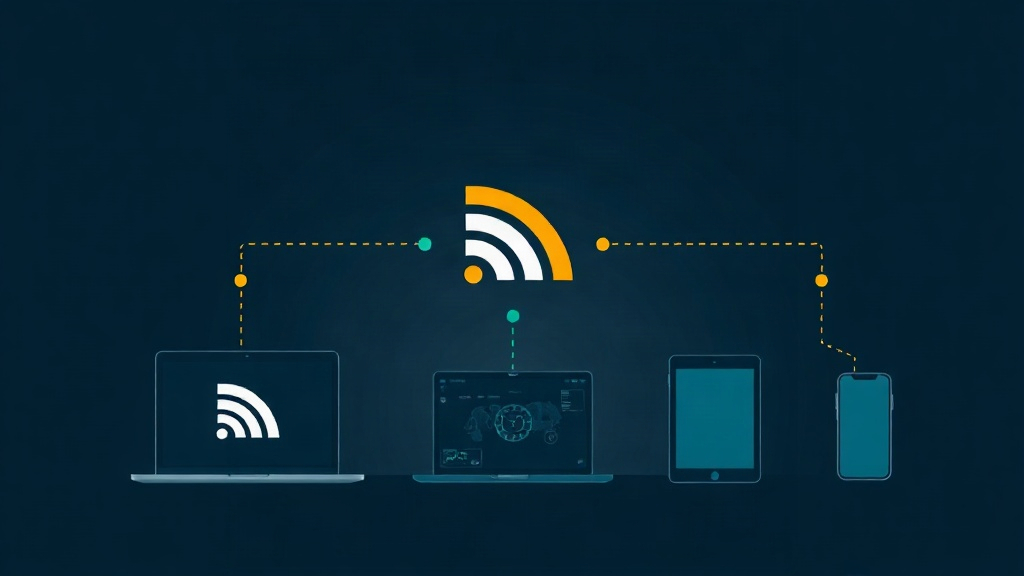
- iframe embed — A full or partial view of your status page embedded directly into a page, useful for support portals or internal dashboards.
Each format serves a different purpose. A SaaS marketing site might just need a small badge, while a customer support portal benefits from the full panel.
Step-by-Step: Embedding a Status Widget
1. Create and Configure Your Status Page First
Before embedding anything, make sure your status page itself is set up with the components, monitors, and branding you want visitors to see. In Livstat, this means connecting your uptime monitors to specific components (API, dashboard, checkout, etc.) so the widget reflects meaningful, granular data—not just "up" or "down."
2. Generate the Embed Snippet
From your status page settings, locate the Embed or Widget section. You'll typically get:
<script src="https://cdn.livstat.com/widget.js" data-page="your-page-id" data-mode="badge"></script>
Or for an iframe-based embed:
<iframe src="https://status.yourdomain.com/embed" width="100%" height="400" frameborder="0"></iframe>
Most platforms let you toggle between badge, banner, and full-panel modes right from this settings screen—no need to hand-edit parameters unless you want fine control.
3. Choose Where to Place It
Placement matters more than most teams realize. Common high-value spots include:
- Footer — Low-friction, always visible, doesn't compete with primary content.
- Navbar or header — Good for products where uptime is a core selling point (e.g., infrastructure tools).
- Support/help center — Reduces duplicate tickets by showing status before a user submits a request.
- Login page — Useful for B2B SaaS, since users often check status right after a failed login attempt.
- In-app banner — For logged-in dashboards, shows incidents contextually without requiring a page switch.
A good rule of thumb: put the badge somewhere persistent (footer/nav), and reserve the banner or full panel for high-traffic pages like login or support.
4. Paste the Snippet Into Your Site
Drop the script or iframe tag into your HTML template, CMS widget area, or component library. For most modern stacks:
- Static HTML/WordPress — Paste into the footer.php or a custom HTML block.
- React/Vue/Next.js — Wrap the script tag in a
useEffector<Script>component to avoid hydration mismatches. - Webflow/Framer — Use the built-in "embed code" component and paste the snippet directly.
- Documentation sites (Docusaurus, GitBook) — Add it to the shared layout or footer config.
5. Test It Across Environments
Before shipping, verify the widget renders correctly on:
- Mobile and desktop breakpoints
- Dark and light theme variants (if your site supports both)
- Slow network conditions (the widget should degrade gracefully, not block page load)
A well-built widget loads asynchronously so it never delays your site's core content.
Customization Options Worth Using
Most teams don't just paste the default widget—they tailor it to match their brand and use case:
- Color and theme matching — Align the widget's palette with your site's design system so it doesn't look bolted on.
- Auto-hide when healthy — Configure the banner to only appear during active incidents, keeping your UI clean the other 99% of the time.
- Component filtering — Show only relevant components on a given page (e.g., just "Checkout" status on your e-commerce site, not your entire infrastructure stack).
- Language/locale support — If you serve international users, make sure the widget respects your site's i18n settings.
Common Mistakes to Avoid
- Embedding without testing load impact. A poorly optimized script can add unnecessary render-blocking time. Always load status widgets asynchronously.
- Ignoring mobile layouts. A full-panel widget that looks great on desktop can overflow or break on smaller screens if you don't test responsive behavior.
- Forgetting to update the embed after a domain change. If you move your status page to a custom domain, update the embed source URL—or the widget silently fails.
- Overloading the page with status info. Not every page needs the full incident history. Use badges for low-context pages and full panels only where users actively look for uptime details.
Measuring the Impact
Once your widget is live, track a few signals over the following weeks:
- Support ticket volume during incidents — Compare tickets tagged "is this down?" before and after the widget went live.
- Widget click-through rate — See how often users click through to the full status page for more detail.
- Time-to-first-response on social/support channels — A visible widget often reduces the urgency users feel to reach out directly.
Teams that embed status widgets alongside proactive incident updates typically see support load drop noticeably within the first month, simply because users can self-serve the answer.
Key Takeaway
Embedding a live status page widget is a small technical task with an outsized impact on user trust and support efficiency. It takes minutes to implement—generate the snippet, place it strategically, customize it to match your brand, and test across devices. Livstat's widget embed supports badge, banner, and full-panel modes out of the box, so you can match the format to the page without writing custom code. Once it's live, your users get instant answers, and your support team gets fewer repetitive tickets.