How to Set Up Incident Notifications with Jira Service Management 2026
Learn how to configure Jira Service Management incident notifications step by step, including alert routing, escalation policies, and status page sync for faster response.
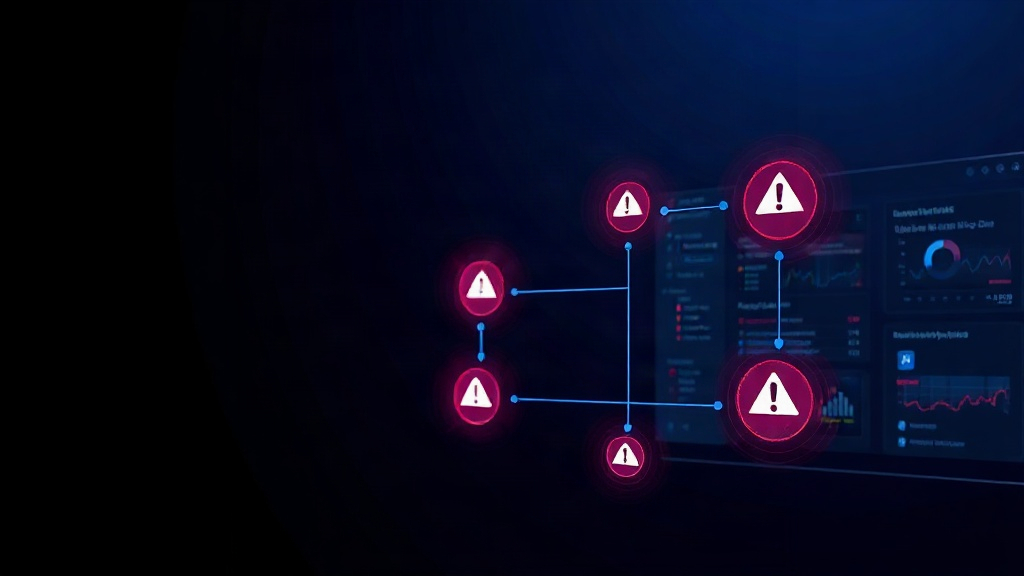
TL;DR: Jira Service Management (JSM) can automatically create incidents, notify on-call responders, and trigger escalations based on alert rules. This guide walks through setting up notification channels, escalation policies, and syncing JSM incidents with a public status page so customers stay informed without extra manual work.
Jira Service Management has become a default choice for teams already living in the Atlassian ecosystem. But out of the box, its notification settings are scattered across three different configuration areas — queues, alerts, and escalation policies. If you set these up wrong, you end up with either alert fatigue or missed pages.
Here's how to configure incident notifications in JSM properly in 2026, from first alert to customer-facing status update.
Why Notification Setup Matters More Than Ever
The average cost of unplanned downtime now exceeds $9,000 per minute for mid-size SaaS companies, according to recent industry benchmarks. Delayed notifications are consistently the biggest contributor to extended MTTR — not lack of monitoring, but slow handoff between detection and human response.
JSM's notification engine, when configured correctly, closes that gap. The goal is simple: the right person gets alerted within seconds, through the right channel, with enough context to act immediately.
Step 1: Connect Your Monitoring Sources to JSM Alerts
Before any notification can fire, JSM needs a signal. Go to Operations > Alerts in your JSM project and connect your monitoring tools.
- Use native integrations for Datadog, Prometheus, CloudWatch, or New Relic
- For custom monitors or status page tools like Livstat, use the generic webhook integration under Alert Integrations
- Map severity fields from your source tool to JSM's priority levels (P1–P5) during setup
Test the connection by triggering a sample alert and confirming it appears in the Alerts queue within 30 seconds.
Step 2: Build Notification Rules by Severity
Not every alert deserves a phone call. In Alerts > Notification Rules, create tiered rules:
- P1/Critical — Push notification + SMS + phone call, immediate
- P2/High — Push notification + Slack/Teams message, immediate
- P3/Medium — Email + in-app notification, batched every 15 minutes
- P4/Low — Daily digest email only
This tiering alone can cut non-critical interruptions by 40-60% without sacrificing response time on real emergencies. Set these rules per team, not globally — a database team doesn't need frontend deploy alerts.
Step 3: Configure On-Call Schedules and Escalation Policies
Under Team Management > On-Call Schedules, build rotations for each responsible team. Best practices for 2026:
- Use weekly rotations with handoff on a fixed day (Wednesday works better than Monday for coverage continuity)
- Set a secondary responder for every schedule, not just a primary
- Build an escalation policy that bumps unacknowledged P1 alerts to the secondary after 5 minutes, then to the team lead after 10
Escalation policies are where most teams under-invest. If you only configure the primary notification and skip escalation, a single missed alert during a critical incident can add 20+ minutes to your response time.
Step 4: Set Up Multi-Channel Delivery
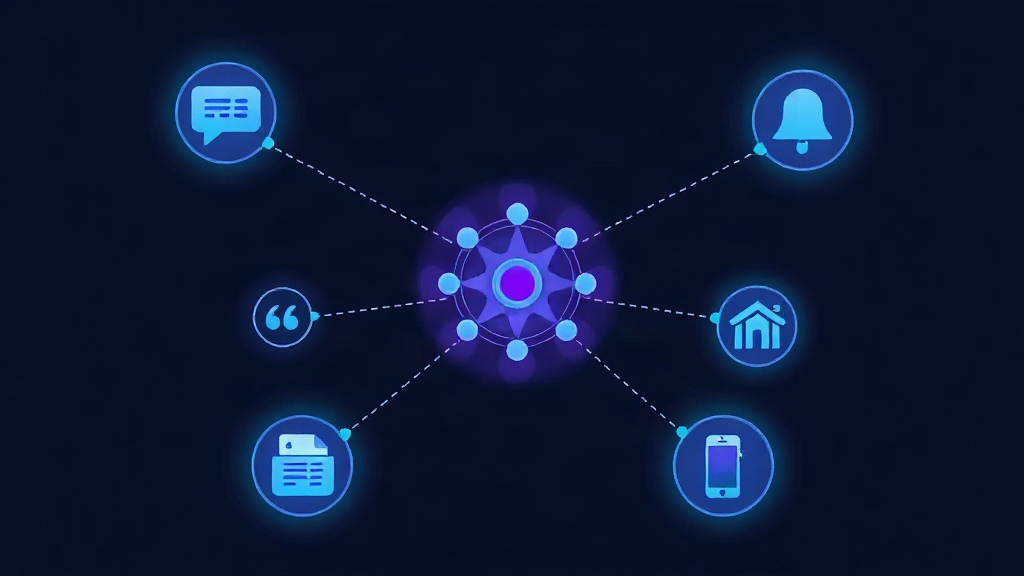
JSM supports native channels, but most teams need more reach than email and the mobile app alone provide. Configure these in Notification Preferences:
- Slack/Microsoft Teams — via the official JSM app for real-time channel posts
- SMS and voice calls — through the built-in Alerts module for P1 incidents
- Webhooks — to forward incident data into your status page tool or internal dashboards
If you're already using Slack for incident war rooms, connect JSM so acknowledging an alert in Slack automatically updates the incident status in Jira — this avoids the double-logging problem that slows teams down mid-incident.
Step 5: Sync Incidents to Your Public Status Page
Internal alerting is only half the job. Customers need to know what's happening too, and manually updating a status page during a live incident wastes time you don't have.
Set up a webhook from JSM that fires when an incident reaches a defined priority threshold (typically P1/P2), and route it to your status page platform. With Livstat, this means:
- An incident created in JSM automatically creates a draft incident on your status page
- Responders can push updates from within Jira comments, which sync to the public page
- Resolution in JSM automatically marks the status page incident as resolved
This removes the manual step most teams forget during high-pressure incidents — and it's the difference between customers hearing about downtime from you first, versus from a support ticket or social media complaint.
Step 6: Test Your Notification Flow Monthly
Configuration drift is real. Teams change, integrations break silently, and phone numbers get updated without re-testing the alert path. Build a recurring test into your process:
- Trigger a synthetic P1 alert once a month
- Confirm it reaches the primary on-call within 60 seconds
- Verify escalation fires correctly if unacknowledged
- Confirm the status page webhook posts correctly
Teams that skip this step often discover broken notification chains during an actual outage — the worst possible time to find out.
Common Mistakes to Avoid
- Over-alerting on low severity issues — this trains responders to ignore notifications, defeating the purpose entirely
- No secondary on-call — single points of failure in your escalation chain are just as dangerous as single points of failure in your infrastructure
- Forgetting mobile app permissions — push notifications silently fail if responders haven't granted notification permissions on their device
- Not mapping severity consistently — if your monitoring tool and JSM use different priority scales, alerts can get misrouted to the wrong urgency tier
Key Takeaway
A well-configured JSM notification setup turns a chaotic alert stream into a predictable, fast-moving response pipeline. The combination of tiered severity rules, redundant escalation paths, and automated status page sync means your team responds faster and your customers stay informed without extra manual effort. Set it up once, test it monthly, and you'll cut your incident response time significantly — without adding headcount.