How to Set Up Incident Notifications with Zapier (2026 Guide)
Learn how to connect your status page to thousands of apps using Zapier, so incident alerts reach your team through Slack, SMS, email, or any tool you already use.
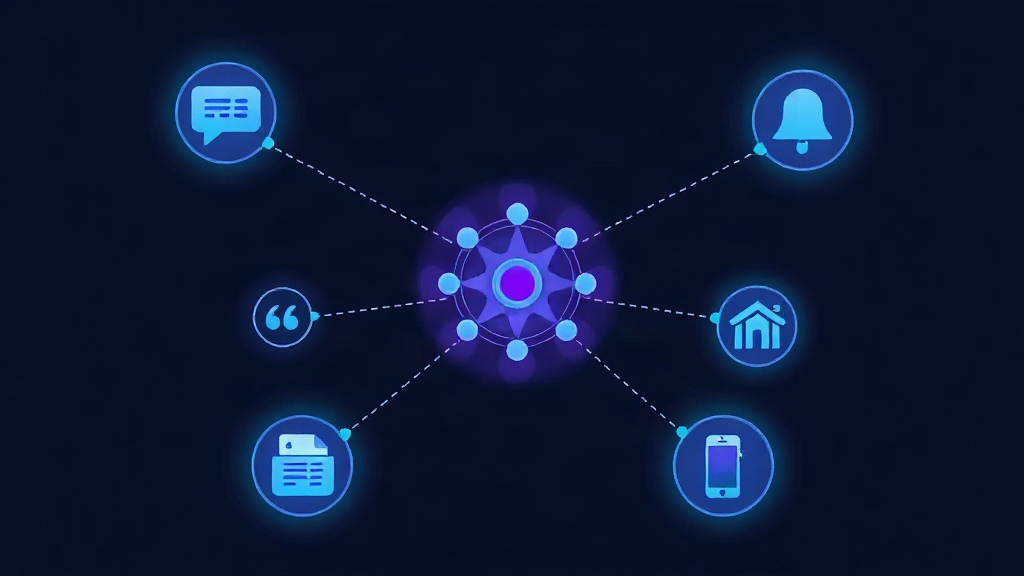
TL;DR: Zapier lets you route incident notifications from your monitoring tool to almost any app — CRM, spreadsheet, Slack, SMS, ticketing system — without writing code. Set up a webhook trigger from your status page provider, connect it to a Zap, and map incident data to whatever action fits your workflow. This guide walks through the full setup in under 15 minutes.
Why Use Zapier for Incident Notifications
Most incident management tools support Slack or email out of the box. But what happens when your workflow requires something more specific — like logging incidents into a Notion database, creating a Jira ticket automatically, or texting your CEO when a payment gateway goes down?
That's where Zapier fills the gap. Instead of waiting for native integrations, you build the exact automation you need in minutes. With over 7,000 supported apps, Zapier turns a single webhook into a flexible notification hub.
This matters more in 2026 than ever. Teams are running distributed stacks across multiple tools — Slack for engineering, Teams for leadership, SMS for on-call, and spreadsheets for compliance tracking. Manually updating each one during an incident wastes precious minutes when speed matters most.
What You'll Need Before You Start
- A Livstat account (or any status page/monitoring tool with webhook support)
- A Zapier account (the free tier supports basic single-step Zaps)
- Admin access to the destination apps you want to notify (Slack, Gmail, Twilio, etc.)
Zapier works on a trigger-action model. Your monitoring tool triggers the Zap when an incident is created or updated, and Zapier performs one or more actions in response.
Step 1: Create a Webhook Trigger in Zapier
- Log into Zapier and click Create Zap.
- Search for Webhooks by Zapier as your trigger app.
- Choose Catch Hook as the trigger event.
- Zapier generates a unique webhook URL — copy it. You'll paste this into your monitoring tool's outgoing webhook settings.
This URL is the bridge between your incident data and everything downstream.
Step 2: Connect Your Monitoring Tool's Webhook
In Livstat, outgoing webhooks live under Settings → Integrations → Webhooks. Paste the Zapier URL there and select which events should trigger it:
- Incident created
- Incident updated
- Incident resolved
- Component status changed
- Scheduled maintenance started
Most teams start by triggering on incident created and incident resolved to avoid notification overload from minor status updates.
Save the webhook and trigger a test incident (or use the built-in "send test payload" feature if your tool has one). Zapier should catch the sample payload within seconds.
Step 3: Map the Incident Data
Once Zapier catches a real payload, it automatically parses the fields — things like:
- Incident title
- Severity level
- Affected components
- Status (investigating, identified, monitoring, resolved)
- Timestamp
- Public status page URL
You'll use these fields to customize your notification messages in the next step. This is the part that makes Zapier powerful — you're not stuck with a generic "An incident occurred" message. You can build dynamic, readable alerts.
Step 4: Add Your Notification Action
Now choose what happens when the webhook fires. Here are the most common setups teams use:
Slack or Microsoft Teams Message
Add a Send Channel Message action, pick your workspace and channel, then build a message template like:
🚨 Incident: {{Incident Title}}
Severity: {{Severity}}
Status: {{Status}}
Affected: {{Components}}
Details: {{Status Page URL}}
SMS via Twilio
For critical, revenue-impacting incidents, add a Send SMS action through Twilio. Filter this Zap with a condition so only "Critical" or "Major" severity incidents trigger a text — nobody needs an SMS for a degraded status on a non-critical component.
Auto-Create a Jira or Linear Ticket
Use the Create Issue action to automatically open a tracking ticket the moment an incident starts. Map the incident title and description directly into the ticket fields, and tag it with your on-call team.
Log to Google Sheets
Append a new row every time an incident is created or resolved. This gives you an instant, no-code incident log for postmortems and SLA reporting without touching a database.
Email Leadership or Customers
Use Gmail or Outlook actions to send a formatted email digest to stakeholders who don't live in Slack, like account managers or executives who need a heads-up before a customer calls them.
Step 5: Add Filters for Smarter Routing
Not every incident needs to reach every channel. Use Zapier's built-in Filter step to control what gets through:
- Only send SMS if severity = "Critical"
- Only post to the #leadership channel if downtime exceeds 15 minutes
- Only create a Jira ticket for incidents tagged "backend"
You can also branch a single Zap into multiple paths using Paths by Zapier, so one webhook trigger can simultaneously post to Slack, log to Sheets, and text the on-call engineer — each with different conditions.
Step 6: Test With a Real Incident Simulation
Before trusting this in production, run a full simulation:
- Create a test incident on your status page.
- Update its status through each stage (investigating → identified → monitoring → resolved).
- Confirm every downstream action fires correctly and with clean formatting.
- Check for duplicate notifications, which often happen if you trigger on both "incident created" and "incident updated" without filtering.
A messy first run is common — most teams need two or three iterations to get message formatting and filters exactly right.
Common Pitfalls to Avoid
- Too many triggers, not enough filters. Sending a notification for every micro-update creates alert fatigue fast — a well-documented problem for on-call teams.
- No severity-based routing. Treating a minor degraded-performance alert the same as a full outage trains your team to ignore notifications.
- Forgetting to update Zaps after workflow changes. If you switch ticketing tools or Slack channels, your Zap keeps firing to the old destination unless you update it.
- Relying solely on Zapier for paging. Zapier is great for notifications and logging, but for true on-call escalation with acknowledgment and retries, pair it with a dedicated escalation policy.
When to Go Beyond Zapier
Zapier is ideal for notification routing and lightweight automation, but it isn't built for on-call escalation — retries, acknowledgments, and phone call fallbacks need a purpose-built system. If your team is scaling past a handful of engineers, pair your Zapier notifications with Livstat's native incident escalation policies for critical alerts, and keep Zapier for the flexible, low-priority routing like logging and internal updates.
Key Takeaway
Zapier turns your status page into a universal notification hub without engineering effort. Start with a simple webhook-to-Slack Zap, then layer in filters, branching, and additional actions as your workflow matures. The goal isn't more notifications — it's the right notification, in the right channel, at the right severity.