How to Set Up Status Page Monitoring for WordPress in 2026
A step-by-step guide to monitoring uptime, plugins, and performance on WordPress sites — and turning that data into a public status page customers trust.
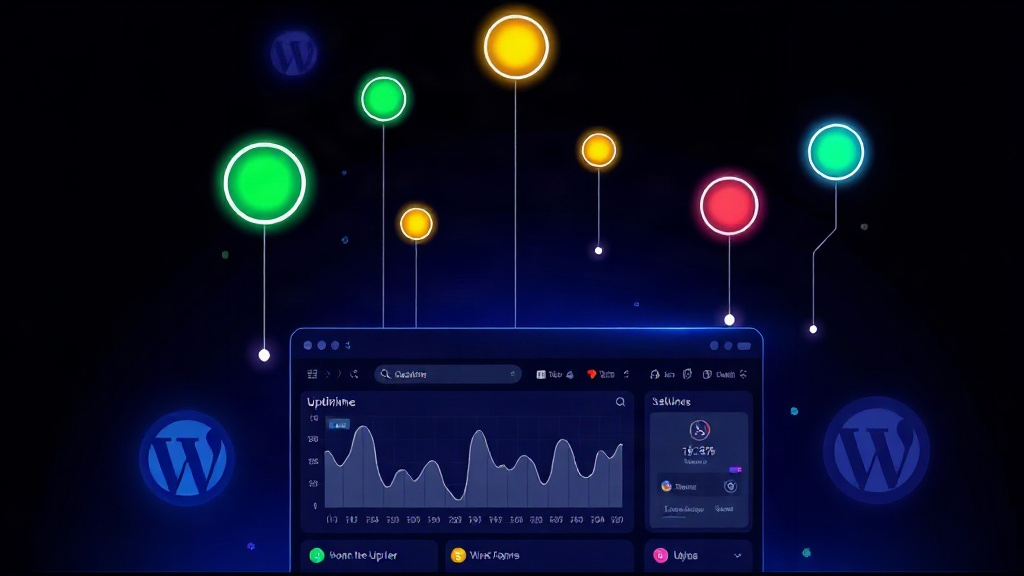
TL;DR: WordPress sites fail differently than typical SaaS apps — plugin conflicts, shared hosting outages, and wp-cron issues cause most downtime. Set up uptime checks on your homepage, checkout, and admin login, add SSL and DNS monitoring, then connect it all to a public status page so visitors see real-time health instead of a blank browser tab.
Why WordPress Needs a Different Monitoring Approach
WordPress powers over 43% of all websites in 2026, but it wasn't built with observability in mind. Unlike a modern SaaS stack with structured logging and health-check endpoints, WordPress relies on a tangle of themes, plugins, and often budget hosting — any of which can quietly break your site.
A plugin update at 2 AM can trigger a fatal PHP error. A hosting provider's shared server can hit resource limits during a traffic spike. Your SSL certificate can expire without anyone noticing until customers see "Not Secure" warnings.
Generic uptime monitoring catches some of this, but a public status page does more — it gives visitors, customers, and your team a single source of truth when something breaks, instead of a flood of "is the site down for anyone else?" messages.
Step 1: Identify What Actually Needs Monitoring
Don't just monitor your homepage. WordPress sites usually have multiple failure points that each need their own check:
- Homepage and key landing pages — the most visible failure
- wp-admin login page — if this breaks, your team can't fix anything
- WooCommerce checkout flow (if applicable) — direct revenue impact
- REST API endpoints — used by mobile apps, headless frontends, or third-party integrations
- Database connectivity — the classic "Error establishing a database connection" screen
- SSL certificate expiration — a silent killer of trust and SEO rankings
- DNS resolution — especially if you're using a CDN or multiple nameservers
Each of these can fail independently, so treat them as separate monitors, not one blanket "is the site up" check.
Step 2: Set Up Uptime Checks for Each Critical Endpoint
Start with HTTP(S) monitors pointed at your key URLs. In Livstat, this takes a few minutes:
- Add a monitor for your homepage with a 30-60 second check interval.
- Add a separate monitor for
/wp-admin— set it to check for a 200 or 302 response (WordPress redirects to login). - If you run WooCommerce, add a monitor for
/checkoutand configure a keyword check for something like "Place Order" to confirm the page actually rendered, not just returned a 200. - Add a monitor for your REST API base (
/wp-json/) if external services depend on it. - Enable SSL certificate expiration monitoring — this should alert you at least 14 days before expiry, not the day of.
Use checks from multiple geographic regions. A site that loads fine from a US server might time out for visitors in Southeast Asia if your CDN edge node is misconfigured.
Step 3: Monitor What's Behind the Scenes
Front-end checks only tell you part of the story. WordPress-specific issues often start deeper in the stack:
- wp-cron reliability — WordPress's default cron system runs on page visits, not a real scheduler, which means scheduled posts, backups, and plugin tasks can silently stop firing on low-traffic sites. Consider a real server cron job and monitor it with a heartbeat check that expects a ping on a schedule.
- Database performance — slow queries from bloated plugins (looking at you, page builders and analytics plugins) can quietly degrade load times before causing a full outage.
- PHP memory and execution limits — plugin conflicts frequently exhaust memory, especially after updates. Log-based alerting from your host can catch this before customers notice a white screen.
- Hosting provider status — if you're on managed WordPress hosting (WP Engine, Kinsta, SiteGround, etc.), track their status feed alongside your own monitors. A hosting-side incident isn't your fault, but your customers won't know that unless you tell them.
Step 4: Build a Public Status Page
Once your monitors are live, connect them to a status page that your customers, team, and stakeholders can check during an incident.
- Group monitors logically. Separate "Website," "Checkout," "API," and "Admin Dashboard" into distinct components instead of one big "Everything" status.
- Use a custom domain like
status.yourstore.comwith free SSL so the page feels like a native part of your brand, not a third-party tool. - Enable automatic incident creation so when a monitor goes down for a defined threshold (e.g., 2 consecutive failed checks), an incident is opened automatically instead of waiting for someone to notice.
- Embed a live status widget in your site footer or admin bar. This is especially useful for agencies managing WordPress sites for multiple clients — it shows transparency without requiring a page visit.
Livstat lets you spin up this entire setup — monitors, components, and a branded status page — in under 15 minutes, which matters when you're trying to get ahead of an incident rather than reacting to angry emails.
Step 5: Configure Alerts That Reach the Right People
A status page is only as useful as the alerts behind it. Set up notifications so:
Your developer or agency gets an instant Slack or email alert when a monitor fails.
Store owners or marketing teams get a simpler notification (e.g., "Checkout is down") without technical noise.
Escalation kicks in if an incident isn't acknowledged within 5-10 minutes — critical for e-commerce sites where every minute of checkout downtime costs revenue.
Consider SMS or phone call escalation for revenue-critical monitors like checkout, since email and Slack notifications can be missed during off-hours.
Step 6: Handle WordPress Maintenance Windows Properly
Plugin and core updates are unavoidable, but they shouldn't trigger false-positive alerts or panic your customers.
- Schedule a maintenance window on your status page before running major updates, especially plugin or theme changes that touch checkout or forms.
- Pause monitors (or set them to "maintenance" state) during the update window so a temporary 503 from a caching plugin doesn't fire a full incident alert.
- Post a short, plain-language note on your status page: "We're performing scheduled updates between 2-3 AM EST. Some pages may briefly reload." This alone prevents a wave of support tickets.
Common WordPress Monitoring Mistakes to Avoid
- Only monitoring the homepage. Checkout and admin login break far more often and matter just as much.
- Ignoring plugin update timing. Set monitors to a shorter interval right after deploying updates, then scale back once stability is confirmed.
- No SSL expiration alerts. This is one of the most preventable outages in WordPress, yet it happens constantly on sites managed by small teams.
- Treating hosting downtime as your fault. Link to your host's status feed on your own status page so customers understand the root cause is external.
Key Takeaway
WordPress downtime rarely looks like a clean server outage — it's usually a plugin conflict, an expired certificate, or a wp-cron job that silently stopped running. Monitoring each critical endpoint separately, and surfacing that data through a public status page, turns invisible failures into transparent, manageable incidents. Set it up once, and you'll spend far less time firefighting and far more time explaining exactly what happened and when it was fixed.