How to Monitor DNS Uptime and Propagation with a Status Page
DNS failures take down everything downstream. Learn how to monitor DNS uptime, track propagation, and communicate DNS incidents clearly with a status page.
TL;DR: DNS is the invisible layer that breaks everything when it fails. Set up monitors for each critical DNS record type (A, CNAME, MX, NS), check resolution from multiple global resolvers, track propagation after changes, and surface DNS health on a public or internal status page so your team and customers aren't guessing during an outage.
Why DNS Deserves Its Own Monitoring Strategy
DNS issues are deceptively dangerous because they rarely look like "your" problem. A misconfigured record, an expired domain, or a registrar outage can take your entire stack offline — even if your servers, database, and API are all healthy.
In 2026, DNS-related outages remain one of the top causes of full-site downtime, according to incident reports across major cloud providers. The tricky part is that DNS failures are often partial and geographically inconsistent, which makes them hard to detect with basic uptime checks alone.
A status page that includes DNS monitoring gives you two things: early detection before customers notice, and a clear communication channel when something does go wrong.
Understanding the Two DNS Problems You Need to Track
DNS monitoring actually covers two distinct failure modes, and you need different checks for each.
1. DNS uptime — Is your DNS server actually resolving queries? If your authoritative nameserver goes down or your DNS provider has an outage, every service depending on that domain becomes unreachable, regardless of how healthy your application is.
2. DNS propagation — After you change a record (migrating hosts, updating an MX record, pointing to a new CDN), how long does it take for that change to reach resolvers worldwide? Propagation delays can cause inconsistent behavior — some users see the new record, others still hit the old one for hours.
Both problems require monitoring from multiple vantage points, not just your own network.
Step 1: Identify Your Critical DNS Records
Before setting up monitors, map out every DNS record your business depends on:
- A/AAAA records — point your domain to your web servers or load balancers
- CNAME records — used for subdomains, CDNs, and third-party integrations
- MX records — control email delivery; a broken MX record silently kills inbound email
- NS records — define which nameservers are authoritative for your domain
- TXT records — used for SPF, DKIM, and domain verification; errors here often break email deliverability or third-party tool integrations
Each record type fails differently, so lump them into separate monitors rather than one generic "DNS check."
Step 2: Set Up DNS Resolution Monitors
Create a monitor for each critical hostname that performs a DNS lookup and validates the response. A good DNS monitor should check for:
- Response time — DNS lookups should typically resolve in under 100ms; consistent spikes above 500ms indicate a problem with your provider
- Correct record value — confirm the returned IP or CNAME target matches what you expect, catching silent misconfigurations
- NXDOMAIN or SERVFAIL errors — these indicate the domain isn't resolving at all
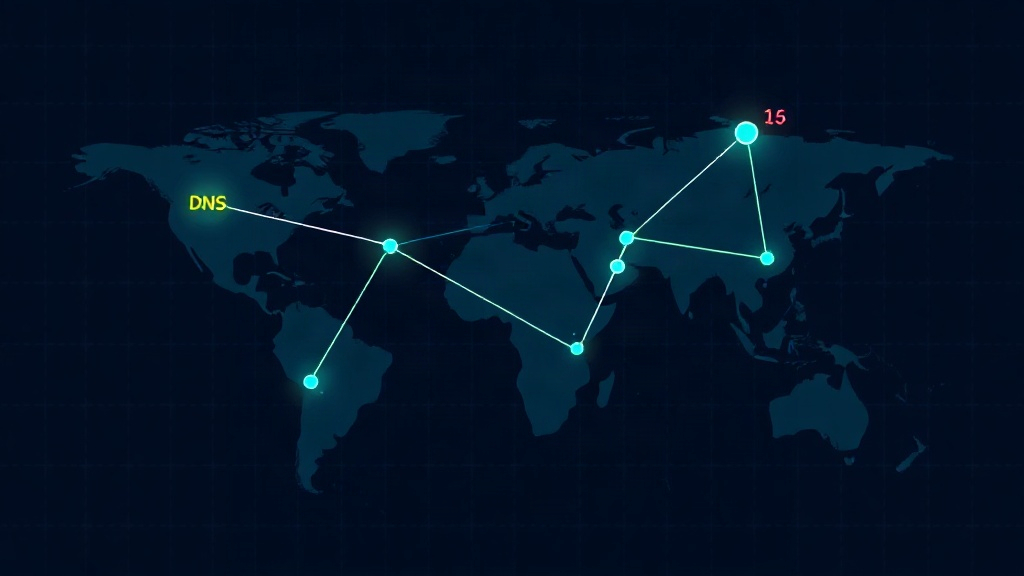
- Resolution from multiple regions — DNS issues are often geography-specific due to anycast routing or resolver caching
On Livstat, you can create HTTP and DNS-aware monitors that check resolution from distributed probe locations, so you catch regional DNS blackouts instead of relying on a single vantage point.
Step 3: Monitor Nameserver Health Directly
Don't just check your domain — check your nameservers individually. If you use multiple nameservers (which you should, for redundancy), monitor each one separately.
dig @ns1.yourdns.com yourdomain.com A
dig @ns2.yourdns.com yourdomain.com A
If one nameserver goes down but others stay up, most resolvers will fail over automatically — but you want to know about the degraded state before it becomes a full outage. Set up a monitor per nameserver and alert if any single one becomes unresponsive, even if overall resolution still succeeds.
Step 4: Track Propagation After DNS Changes
Whenever you change a DNS record — migrating providers, rotating IPs, updating TTLs — propagation delay becomes a real risk window. Here's how to manage it:
- Lower your TTL before the change. Set TTL to 300 seconds (5 minutes) at least 24 hours ahead of a planned migration so old records expire from caches faster.
- Query multiple public resolvers (Google 8.8.8.8, Cloudflare 1.1.1.1, OpenDNS) immediately after the change to confirm the new value is being served.
- Run checks from multiple geographic regions since propagation speed varies by ISP and resolver caching behavior.
- Keep the old and new endpoints both live during the propagation window so users hitting stale records don't hit a dead server.
- Set a monitor to alert you once propagation reaches 100% across your check locations, so you know when it's safe to decommission the old infrastructure.
Step 5: Surface DNS Health on Your Status Page
Once your DNS monitors are running, connect them to a status page component so both your team and your customers have visibility.
- Create a dedicated "DNS & Domain Resolution" component separate from your API or web app components — DNS failures need their own line item since they affect everything else
- Set automated status updates so the component flips to Degraded or Down the moment a monitor fails, without waiting for a human to notice
- During a DNS incident, post updates that explain propagation timing ("expect resolution to normalize within 15-30 minutes as caches refresh") — this single sentence prevents dozens of support tickets asking why the site is intermittently down for some users but not others
- After a migration, use a scheduled maintenance window on your status page to set expectations proactively rather than reactively
Common DNS Monitoring Mistakes
- Only checking from one location. DNS resolution can differ by region due to anycast and caching. Always monitor from multiple geographies.
- Ignoring TTL settings. A high TTL (like 86400 seconds) means any bad record you push will stay cached for up to 24 hours. Keep TTLs low during any planned change.
- Not monitoring MX records separately. Email delivery failures from a broken MX record are silent — no error page, just messages disappearing. Treat MX monitoring as critical infrastructure.
- Forgetting domain expiration. An unrenewed domain is technically a DNS failure and it's completely preventable. Set a renewal reminder monitor or calendar alert 60 days before expiration.
- Relying solely on your registrar's dashboard. Registrar status pages often lag behind real-world impact. Independent monitoring gives you ground truth.
Building a DNS Incident Response Checklist
When a DNS monitor fires, work through this sequence:
- Confirm the alert isn't a false positive by querying from 2-3 independent public resolvers
- Check your DNS provider's own status page for a known outage
- Verify record values haven't been accidentally changed or reverted
- Post an initial status page update within 5 minutes, even if you don't have a root cause yet
- If it's a provider outage, consider a secondary DNS provider as failover for future resilience
Key Takeaway
DNS sits at the foundation of everything you run online, yet it's one of the most under-monitored layers in most stacks. By setting up dedicated uptime checks for your nameservers and record types, tracking propagation after every change, and giving DNS its own visibility on your status page, you turn an invisible single point of failure into something measurable and communicable. The goal isn't just catching DNS problems faster — it's making sure your team and your customers never have to wonder why "everything is down" when the real cause is one bad record.