How to Set Up Incident Notifications with Datadog in 2026
Learn how to configure comprehensive incident notifications in Datadog. Step-by-step guide covering monitors, alerts, and notification channels for effective incident response.
TL;DR: Set up Datadog incident notifications by creating monitors with proper thresholds, configuring notification channels (email, Slack, webhooks), customizing alert messages with variables, and implementing escalation policies. Test thoroughly and optimize based on team feedback to reduce noise and improve response times.
Understanding Datadog's Incident Notification System
Datadog's notification system revolves around monitors that watch your infrastructure and applications. When these monitors detect issues, they trigger alerts that can be routed to various channels.
The platform offers three core notification components: monitors (the detection engine), notification channels (where alerts go), and escalation policies (how alerts progress). Understanding this hierarchy helps you build effective incident response workflows.
Setting Up Your First Monitor
Start by navigating to the Monitors section in your Datadog dashboard. Click "New Monitor" and select the appropriate monitor type based on what you want to track.
For application monitoring, choose "APM" or "Logs" monitors. For infrastructure issues, select "Metric" or "Integration" monitors. Each type offers different configuration options tailored to specific use cases.
Configuring Monitor Thresholds
Set your alert and warning thresholds carefully. A common mistake is setting thresholds too sensitive, leading to alert fatigue.
For response time monitoring, consider these baseline thresholds:
- Warning: 95th percentile > 500ms for 5 minutes
- Critical: 95th percentile > 1000ms for 3 minutes
For error rate monitoring:
- Warning: Error rate > 1% for 5 minutes
- Critical: Error rate > 5% for 2 minutes
These thresholds balance early detection with noise reduction. Adjust based on your application's normal behavior patterns.
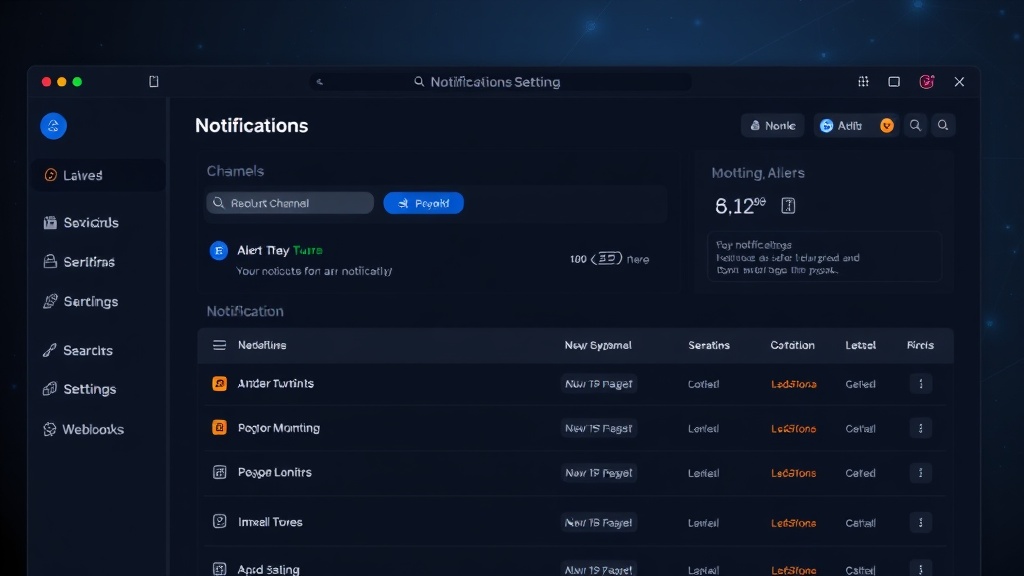
Configuring Notification Channels
Datadog supports multiple notification channels, each serving different purposes in your incident response workflow.
Email Notifications
Email remains the most reliable notification method. Configure email notifications by adding recipient addresses in the "Notify your team" section.
Use distribution lists rather than individual emails. This ensures notifications reach the right people even when team members change roles or leave.
Slack Integration
Slack integration provides real-time notifications with rich formatting. Connect your Slack workspace through Datadog's integrations page.
Create dedicated incident channels like #alerts-critical and #alerts-warning. This separation helps teams focus on the most important issues first.
Use the @here or @channel mentions sparingly. Reserve them for critical alerts that require immediate attention from the entire team.
Webhook Notifications
Webhooks enable integration with external tools like status pages, ticketing systems, or custom incident management platforms.
Configure webhook URLs in your monitor settings. Include authentication headers if your endpoint requires them.
Test webhook notifications thoroughly. Many teams discover integration issues only during actual incidents, causing delays in response.
Customizing Alert Messages
Effective alert messages contain the right information without overwhelming recipients. Use Datadog's template variables to create dynamic, contextual notifications.
Essential Information to Include
Your alert messages should answer these questions immediately:
- What is the problem?
- Where is it happening?
- How severe is the impact?
- What are the next steps?
Using Template Variables
Datadog provides numerous template variables for customizing messages:
{{value}}: The metric value that triggered the alert{{threshold}}: The configured threshold{{host.name}}: The affected host{{last_triggered_time}}: When the alert first fired
Example message template:
🚨 HIGH ERROR RATE DETECTED
Service: {{service.name}}
Error Rate: {{value}}% (threshold: {{threshold}}%)
Host: {{host.name}}
Dashboard: {{dashboard_url}}
Runbook: https://wiki.company.com/incident-response
Setting Up Escalation Policies
Escalation policies ensure critical issues don't go unnoticed. Configure multiple escalation levels with increasing urgency.
Basic Escalation Structure
Level 1 (0-15 minutes): Primary on-call engineer via Slack and email
Level 2 (15-30 minutes): Engineering manager via phone and email
Level 3 (30+ minutes): Director of Engineering and CTO
This structure ensures appropriate people are notified based on issue duration and severity.
Implementing Escalation Delays
Use Datadog's notification delay settings to implement escalation timing. Set delays between notification levels to give teams adequate response time.
Avoid overly aggressive escalation timing. Fifteen-minute delays for the first escalation level work well for most organizations.
Advanced Notification Features
Composite Monitors
Composite monitors combine multiple conditions into a single alert. This reduces notification noise by requiring multiple symptoms before triggering.
For example, combine high response time AND high error rate conditions. This prevents alerts during routine deployments when one metric might temporarily spike.
Monitor Dependencies
Configure monitor dependencies to suppress downstream alerts during upstream failures. If your load balancer fails, suppress alerts from individual application servers.
This dependency mapping prevents alert storms that overwhelm incident response teams.
Notification Scheduling
Use notification scheduling to respect team working hours for non-critical alerts. Configure different escalation policies for business hours versus after-hours incidents.
Critical alerts should always notify immediately, regardless of time. Reserve scheduled notifications for warnings and informational alerts.
Testing Your Notification Setup
Regular testing ensures your notification system works when needed. Datadog provides several testing mechanisms.
Manual Testing
Use the "Test Notifications" feature in monitor configuration. This sends sample alerts to all configured channels without triggering actual incidents.
Test monthly during team meetings. Verify that all notification channels receive messages and that escalation timing works correctly.
Automated Testing
Consider implementing automated notification testing using Datadog's API. Create synthetic issues that trigger your monitors and validate the complete notification flow.
Optimizing for Reduced Alert Fatigue
Alert fatigue undermines incident response effectiveness. Implement these strategies to maintain team responsiveness.
Smart Alerting Thresholds
Regularly review and adjust thresholds based on historical data. Monitors that frequently trigger false positives need threshold refinement.
Use Datadog's anomaly detection for dynamic thresholds that adapt to normal usage patterns.
Alert Grouping
Group related alerts to reduce notification volume. Configure monitors to consolidate similar issues into single notifications.
For example, if multiple application instances show high error rates simultaneously, group them into one alert rather than sending separate notifications for each instance.
Integration with Status Pages
Connect your Datadog monitors to external status page tools for automatic incident communication. While Datadog provides basic status page functionality, specialized tools like Livstat offer more comprehensive status page management with automated updates based on monitor states.
This integration ensures your users stay informed about issues without requiring manual status updates during incidents.
Conclusion
Effective Datadog incident notifications require thoughtful configuration of monitors, channels, and escalation policies. Start with basic email and Slack notifications, then gradually add advanced features like composite monitors and dependencies.
Regular testing and threshold optimization ensure your notification system remains effective as your infrastructure evolves. Remember that the goal is timely, actionable alerts that help your team respond quickly without overwhelming them with noise.
The key to successful incident notifications is finding the right balance between comprehensive coverage and notification fatigue. Start conservative with your thresholds, then adjust based on real-world experience and team feedback.